Removing the Flash Hider from an HK93-pattern RifleCredit: Doug, aka m1a1driver of Calguns, and SeanNewton My friend Doug wanted to be able to use detachable magazines on his Century Arms C93. Given that we reside in the state of California, this requires that the weapon's pistol grip and flash hider be removed or neutralized. There are various places selling kydex wraps to neutralize the pistol grip, but the only way to remove the flash hider from the equation is to remove the flash hider itself. The flash hider was too firmly attached for basic tools, however, so he took his rifle to my place and we started looking at it. A good percentage of internet denizens seem to believe that the C93 rifles' muzzle devices are either silver soldered on or blind-pinned on. On the surface, this may seem a reasonable assumption because many rifles do get imported in that type of configuration. However, it is not always the case, and in the pictures below I'll explain what could lead someone to believe it was pinned. This rifle's device was attached very firmly, and probably hadn't been removed since well before the original military rifle was cut down for a parts kit. However, it was not permanently affixed.Before Removal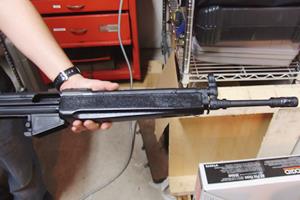 This is the stripped upper of the rifle. Note that unlike an AR-15, in the HK-pattern rifles ATF considers the upper receiver to be the receiver for transfer and registration purposes.
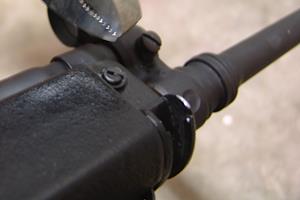
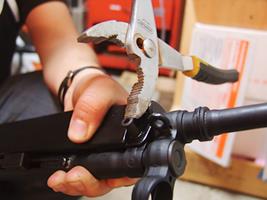
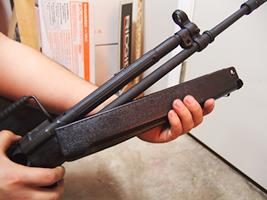
Removing the Handguard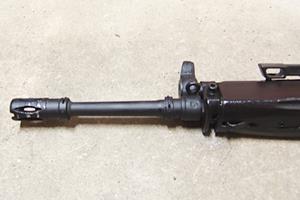 This is a close-up on the front end. By the time this picture was taken, we'd already removed it once to verify that this technique works. The nicks on the flash hider were put on there by this procedure, however it would be possible not to damage it if more care were taken. In this specific instance, the owner had little interest in retaining the original muzzle device. Please note the wire visible in the flash hider at its base, almost centered with the barrel. This wire is part of the retention spring assembly and must not be mistaken for a pin. Farther over on this picture, you can see the rest of the retention spring. The function of this spring is to prevent a loose flash hider from spinning its way off. While it may perhaps be necessary when the rifle is brand new, the level of effort required to remove this FH indicates that the point where it may have been needed, has passed a long time ago.
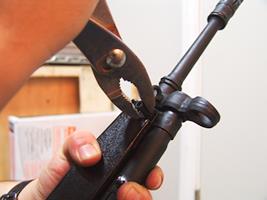
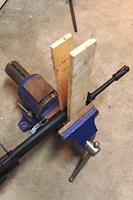
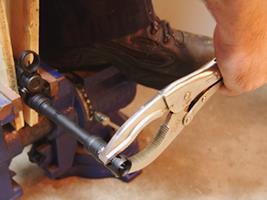
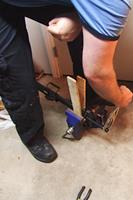
Removing the Flash Hider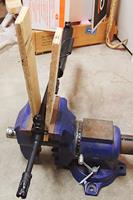 With the handguard removed, the cocking tube and barrel are exposed. They're of roughly the same diameter, so we used some relatively light weight plywood to prevent marring them as we clamped them into the vise. You should set your plywood pieces as close to the front sight area as you can get them. If your flash hider is amazingly well attached, you don't want to potentially warp your cocking tube. Getting closer to the point of attachment reduces the risk of this happening.
After Removal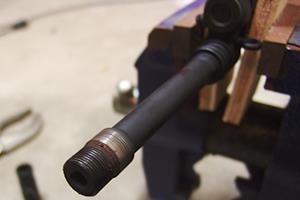 A close-up on the barrel underneath the flash hider. Note the buildup of material. This is probably solidified grease, mixed in with a bit of rust and probably some carbon, then baked together over years of firing. Over time, it turned into a kind of cement.
What should you take away from this?
|

Ideas, requests, problems regarding TWiki? Send feedback


